Receipt Bot data extraction setting
Understanding the various requirements for data extraction, Receipt Bot empowers you to tailor the settings to align the data extraction process according to your preferences. You can define rules on how you want to record each document type or turn on/off the extraction of additional data, the treatment of duplicate documents, and several other options. This article provides an overview of configuring data extraction rules in the Receipt Bot.
We can divide the extraction settings into the following categories;
- Accounting & Export Rules for Different Documents
- Bank Statement Extraction
- Document Management
- Supplier Statement & Ledger Extraction
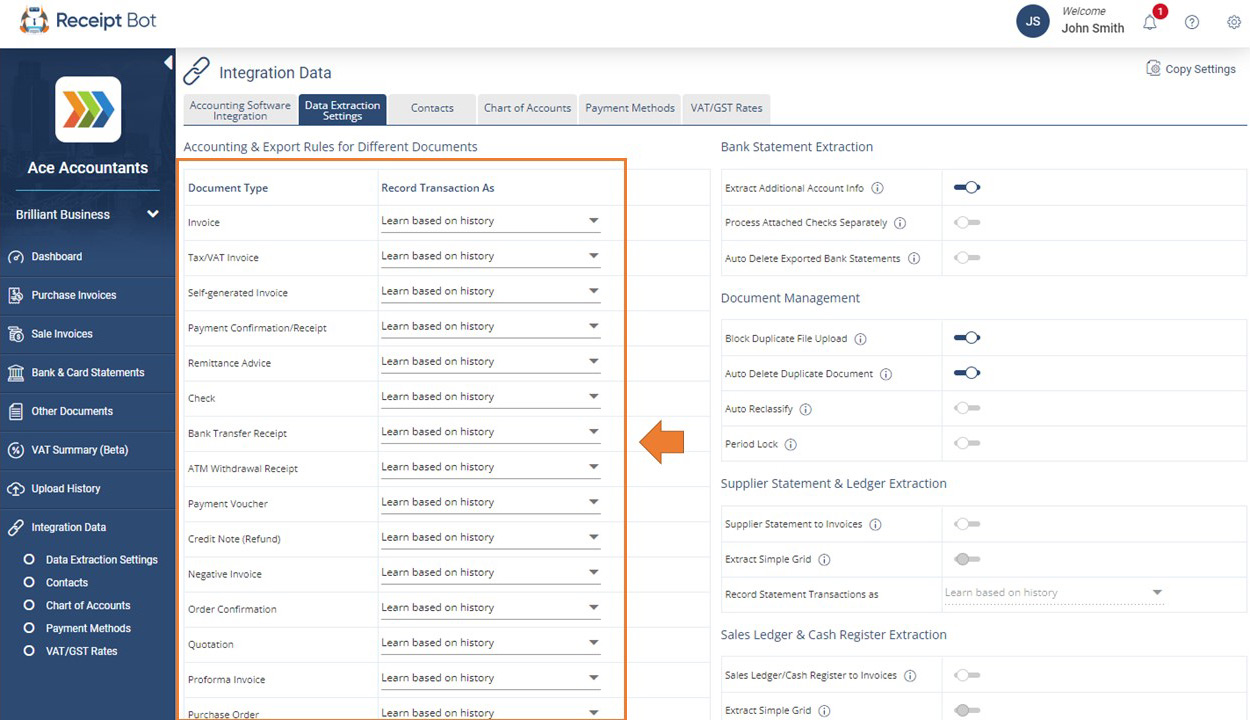
1. Accounting & export rules for different documents
Receipt Bot intelligently categorises each purchase or sale invoice into specific document types during the data extraction, such as payment confirmation receipts, tax invoices, checks, and more.
Globally, businesses follow diverse practices when it comes to recording transactions. For example, while one business may log a transaction upon receiving an order confirmation, another might only do so upon receiving the tax invoice. These practices can vary depending on specific supplier or customer interactions.
You can establish rules in Receipt Bot on how a transaction should be exported or recorded within the system or even to external accounting software to ensure alignment with your unique business preferences.
You can find more details by exploring the following article on mapping document types to transaction types in Receipt Bot: Define accounting transactions for different document types.
2. Bank statement extraction
2.1. Extract additional account info.
Receipt Bot extracts basic account information from the uploaded bank or card statements, such as the Payment Method’s display name, Account Title, and the Last four digits of the Payment Method.
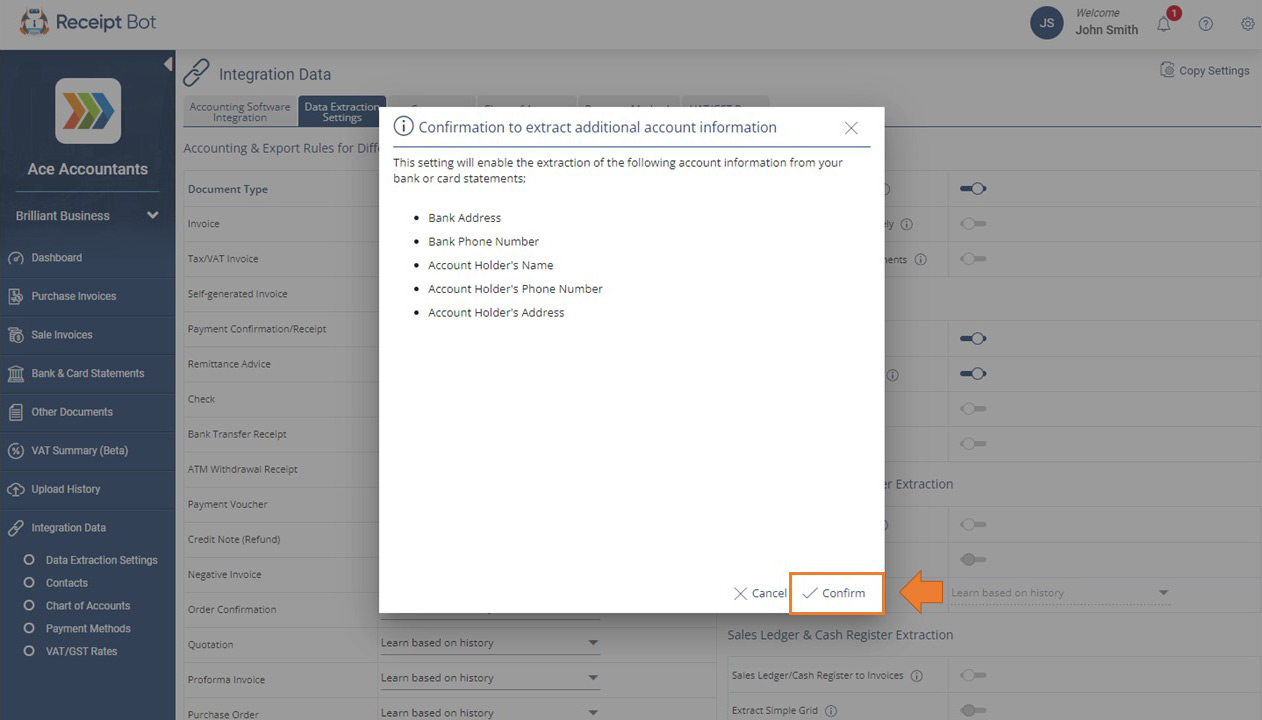
Should you require the extraction of additional account details, including the Bank Address, Bank Phone Number, Account Holder’s Name, Account Holder’s Phone Number, and Account Holder’s Address, you may enable this feature by following these steps:
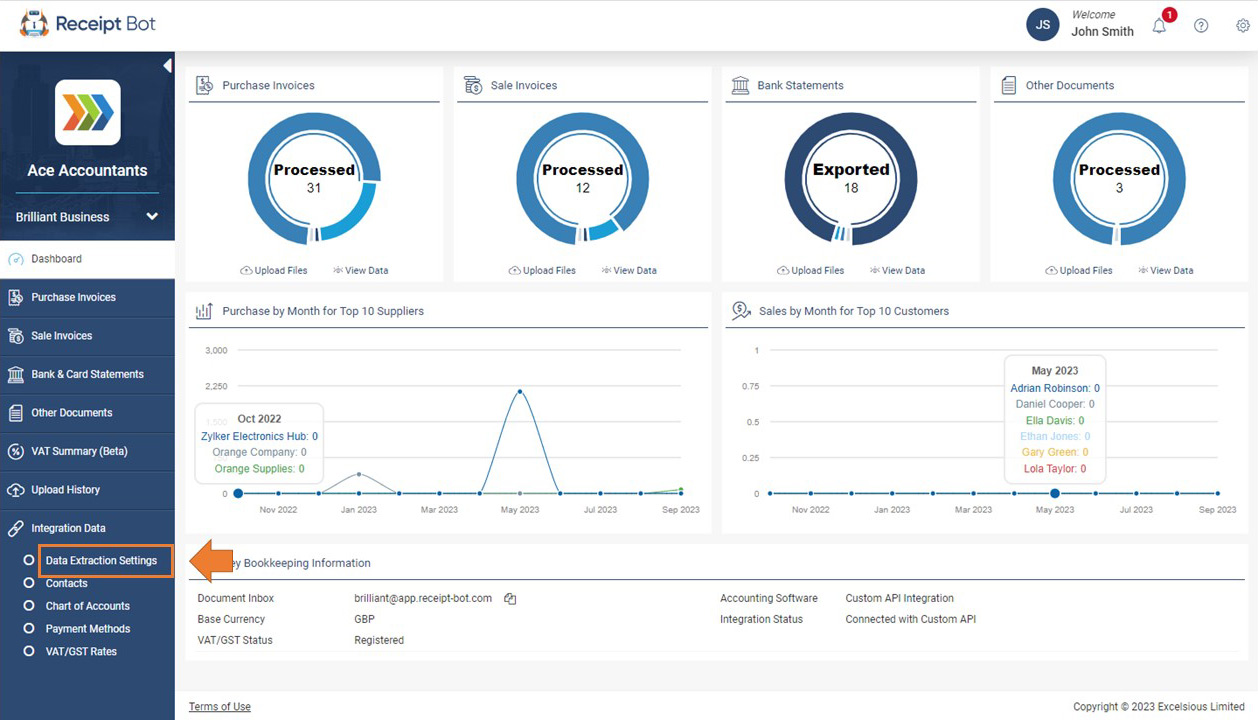
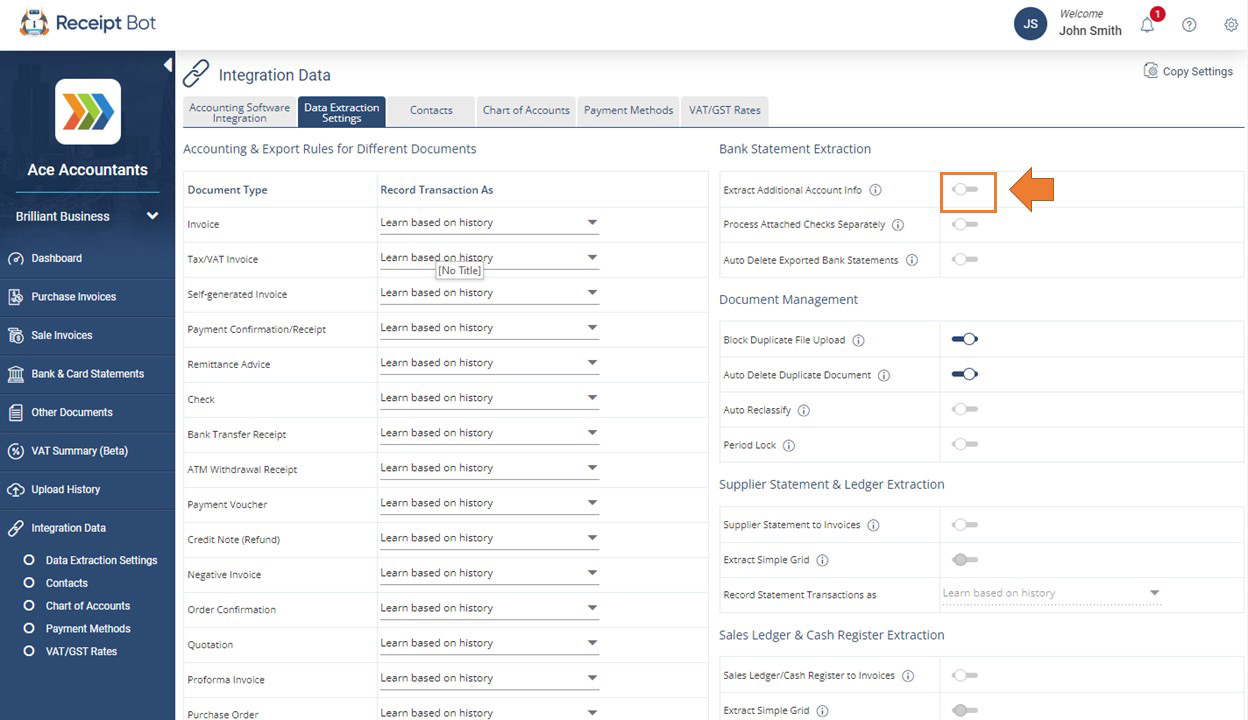
Step 1 – Navigate to the “Data Extraction Setting” tab.
Step 2 – Enable the “Extract Additional Account Info” switch.
Step 3 – Click the “Confirm” button.
The extraction of additional account information will be enabled.
The system will now extract the additional payment method information for any new documents.
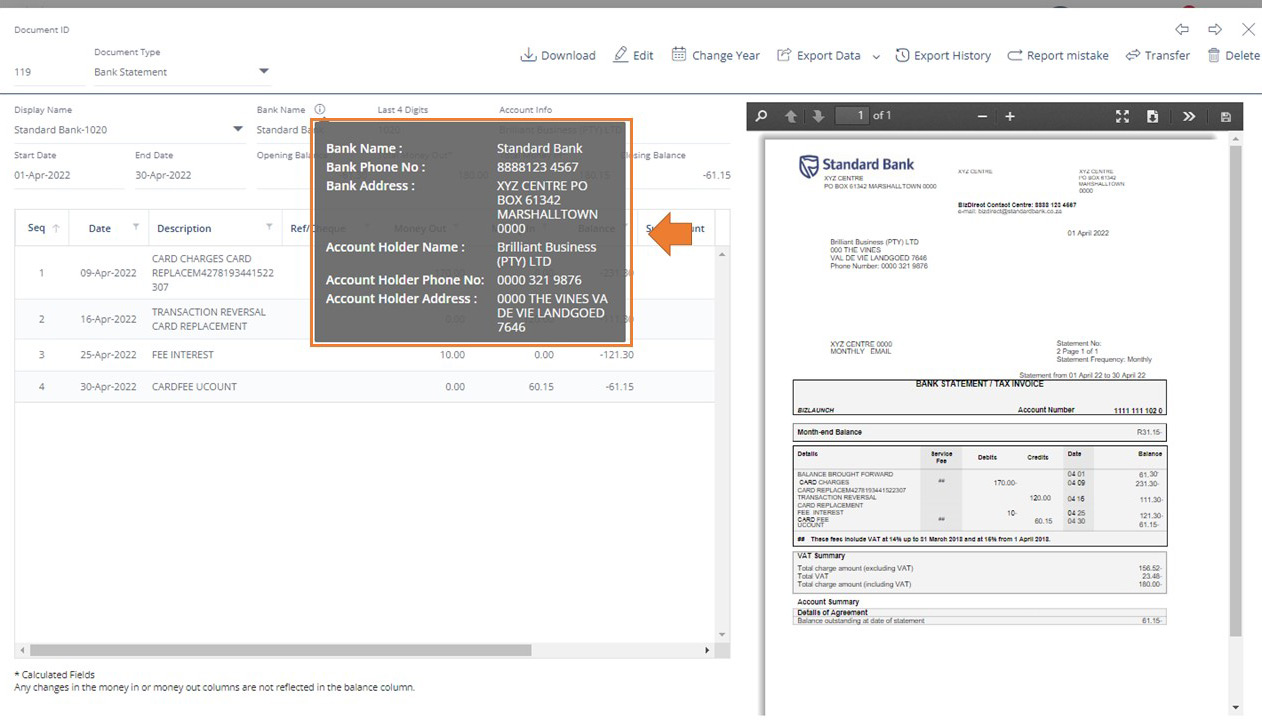
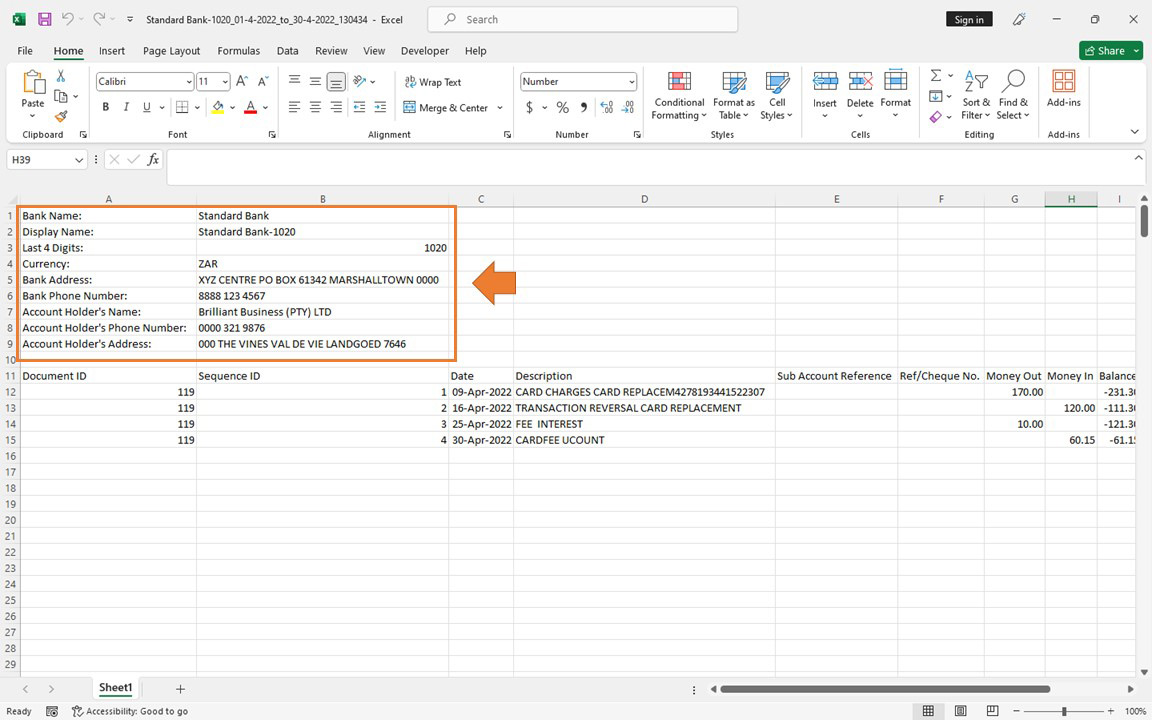
The same information will be available for download using the Standard Excel format.
Note: The additional details extraction can not be enabled when a business is integrated with accounting software.
2.2. Process attached checks separately
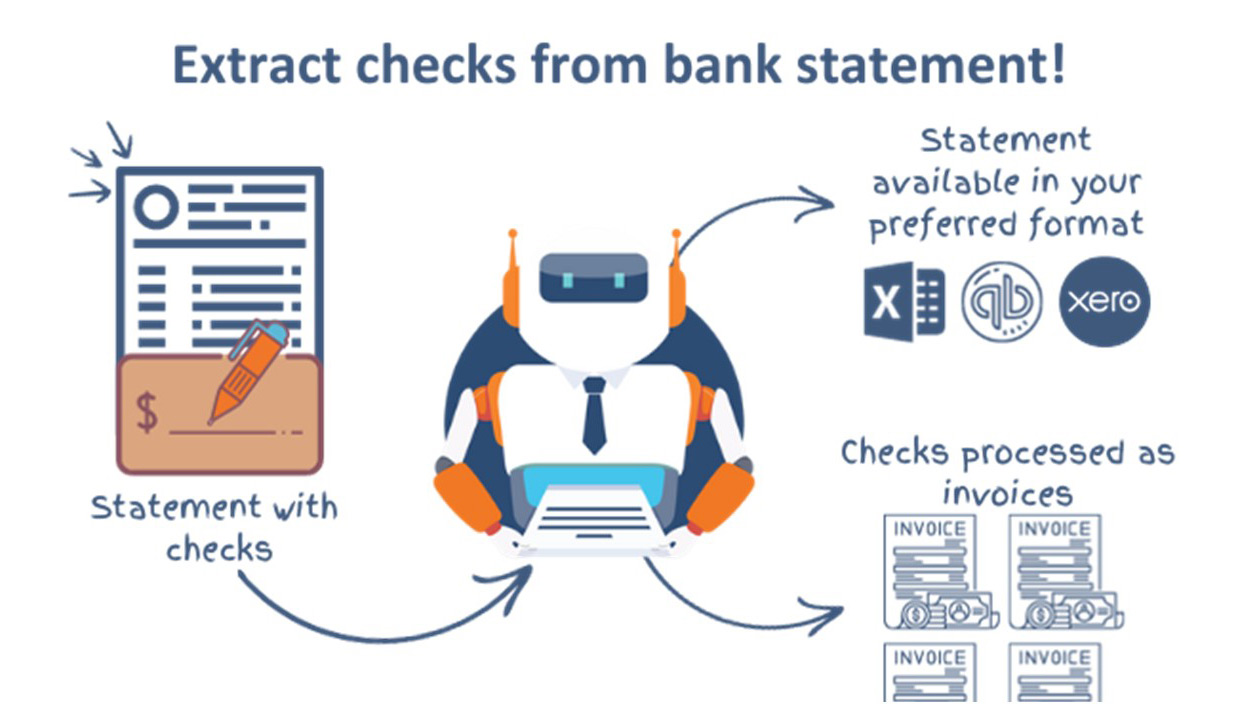
Bank statement scans frequently contain checks attached at the end of the file, detailing the transactions that have occurred. With Receipt Bot, you can extract data from these checks separately, utilising the Purchase Invoice Module. This information is then recorded as payment confirmation of your supplier’s invoice. Receipt Bot intelligently identifies and segregates these attached checks during processing, treating them as individual purchase invoices when this feature is enabled.
To take advantage of this functionality, please follow these steps:
Step 1 – Navigate to the “Data Extraction Settings” tab.

Step 2 – Enable the “Process Attached Checks Separately” switch.
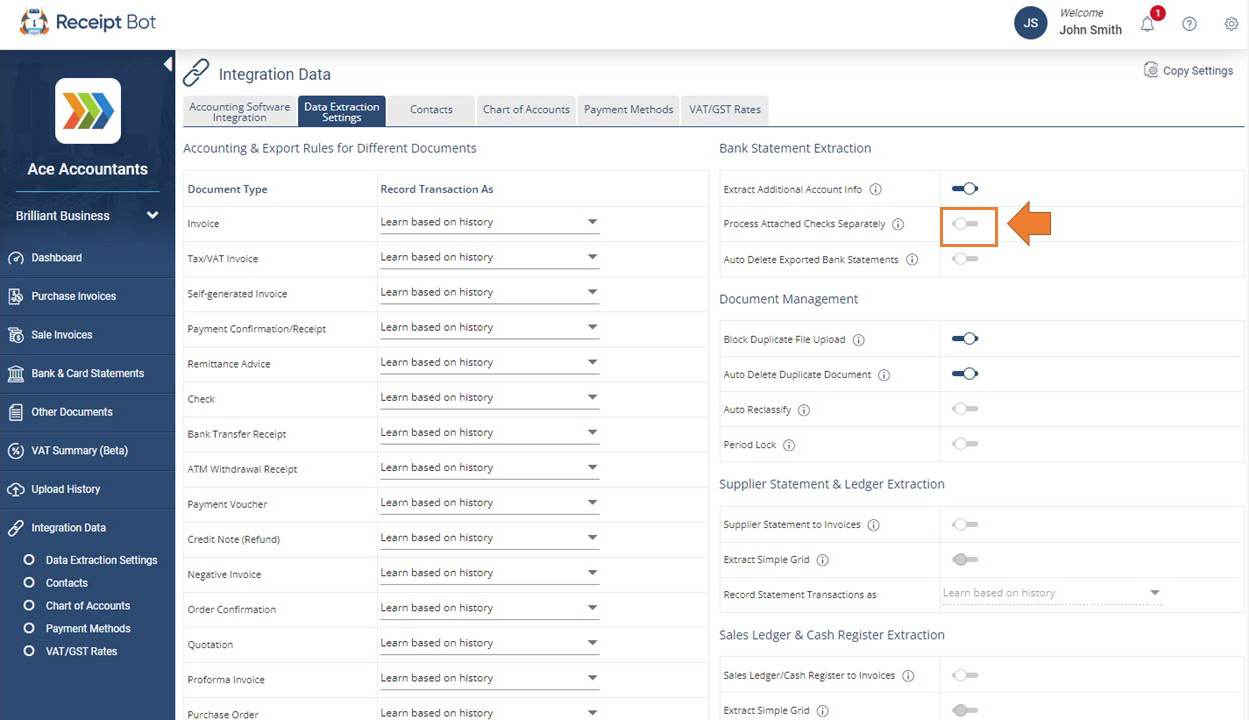
The setting will be enabled, and any new statement uploaded with checks will now be split into multiple documents. A separate document will be created for each check attached and processed as a payment confirmation in the purchase invoice module.
2.3. Auto delete exported bank statements
The ‘Auto Delete Statement’ feature allows you to automatically remove bank statement data after a specified period, reducing any data confidential risks. It can also speed up the Receipt Bot’s performance. For detailed instructions on enabling this feature, please refer to the following: Auto delete bank statements in Receipt Bot.
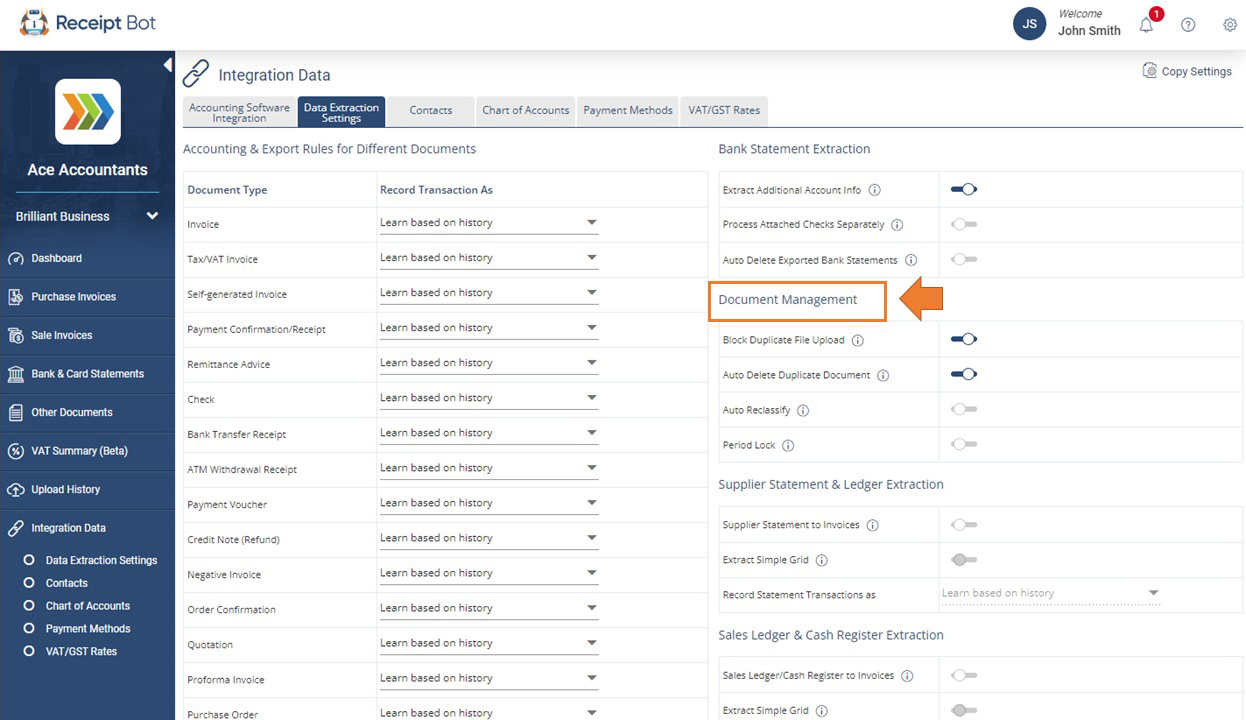
3. Document management
3.1. Block duplicate file upload
Receipt Bot can identify duplicate documents upon upload, and using this setting, you can configure Receipt Bot to block any duplicate files or allow upload.
By default, this setting is switched on for a business to save your credits. You can follow these steps to turn off the feature:
Step 1 – Navigate to the “Data Extraction Settings” tab.

Step 2 – Navigate to the “Document Management” section on the right.
Step 3 – Disable the “Block Duplicate File Upload” switch.
The duplicate files will be uploaded to the Receipt Bot.
3.2. Auto delete duplicate document
Receipt Bot also checks the extracted data to identify duplicates, and you can opt to have these duplicate documents automatically deleted to save credits. This feature is turned off by default.
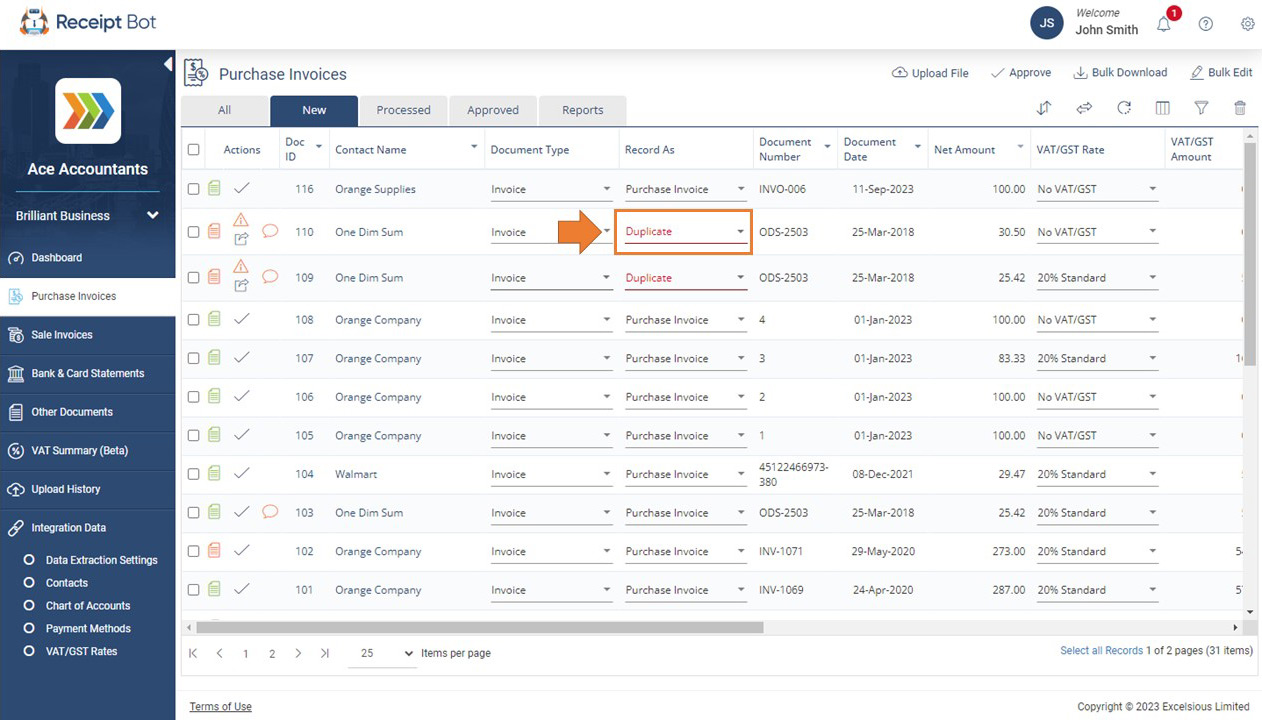
If this setting is enabled, the system will process duplicate documents with a Duplicate flag.
If this setting is disabled, the system will delete duplicate documents with relevant remarks.
To enable this feature, please follow these steps:
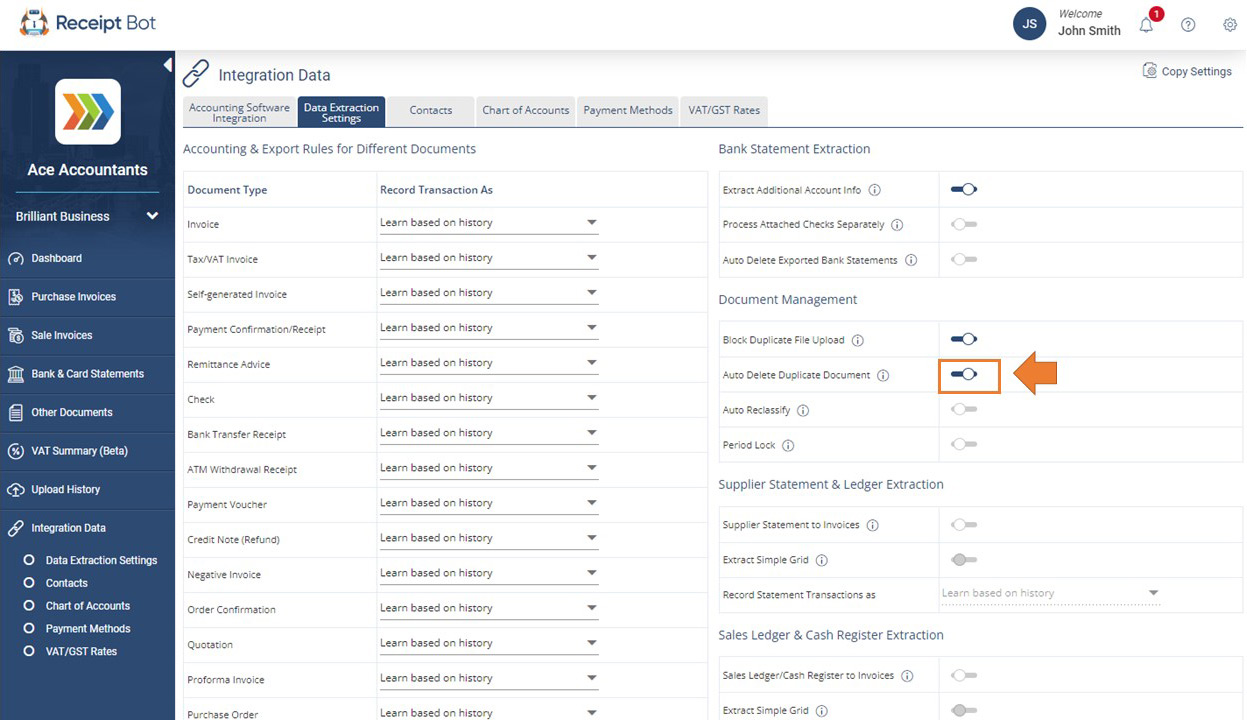
Step 1 – Navigate to the “Data Extraction Settings” tab.

Step 2 – Enable the “Auto Delete Duplicate Document” switch.
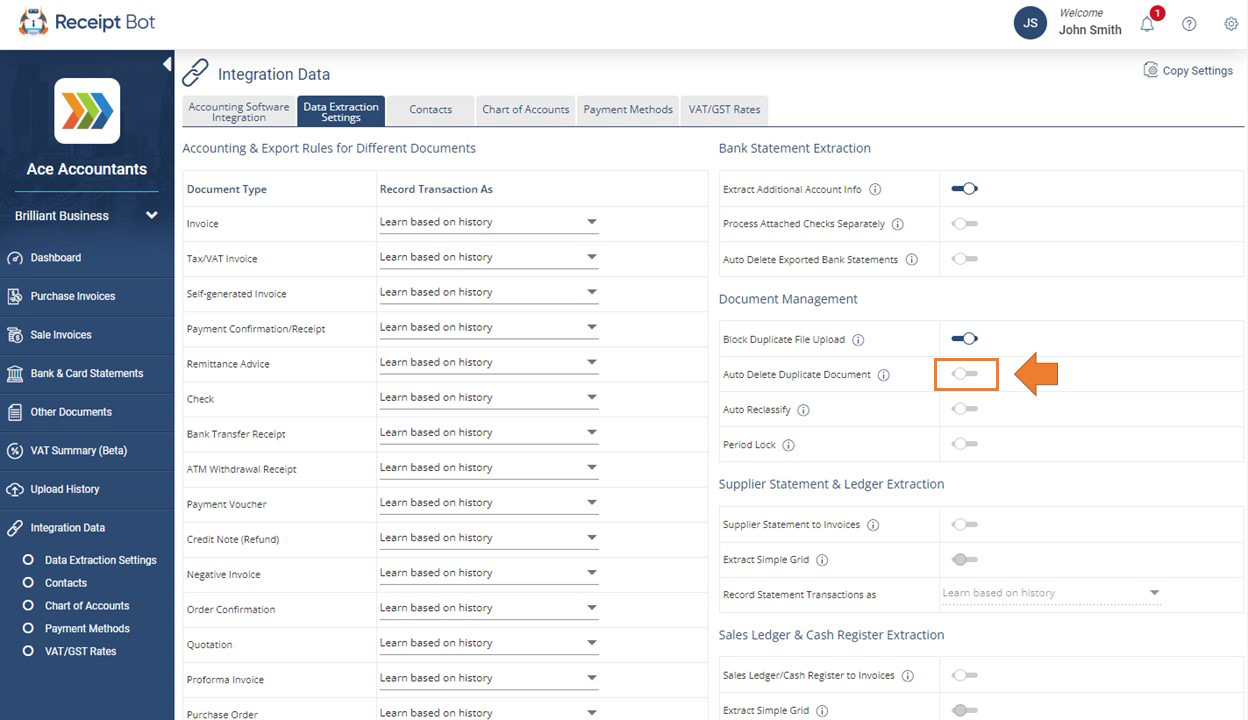
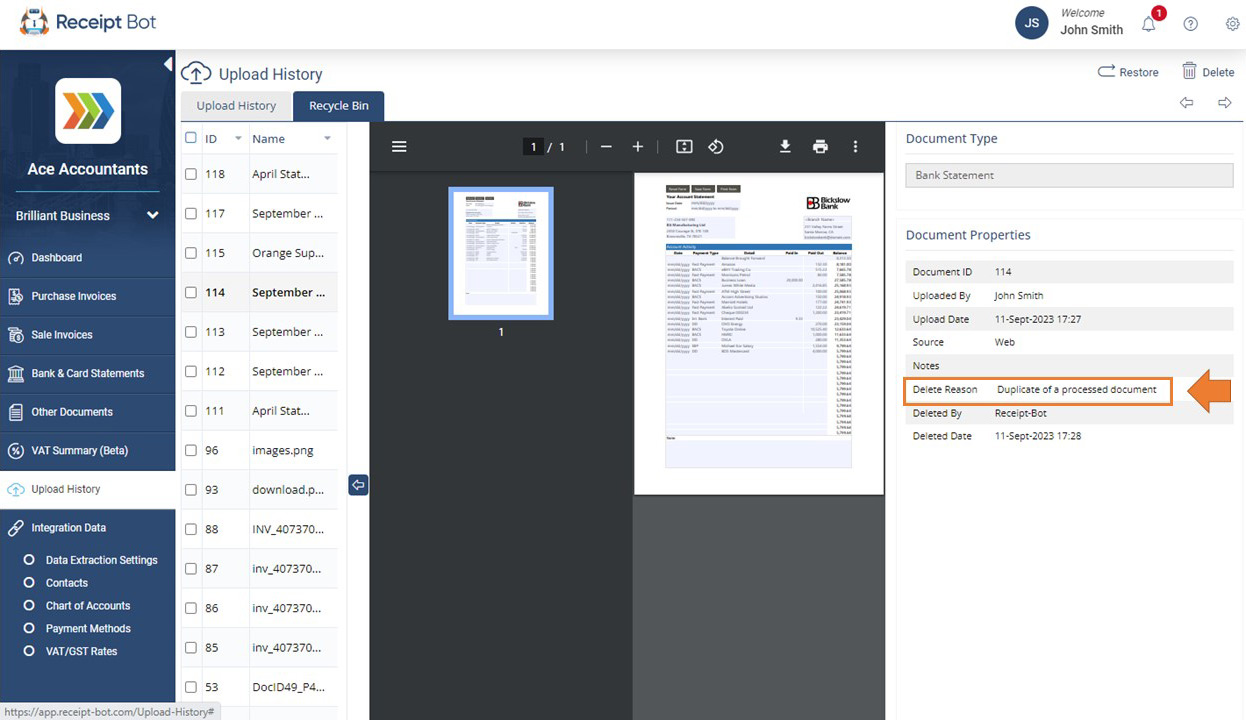
Once enabled, all duplicate documents will be moved to the recycle bin with the relevant delete reason.
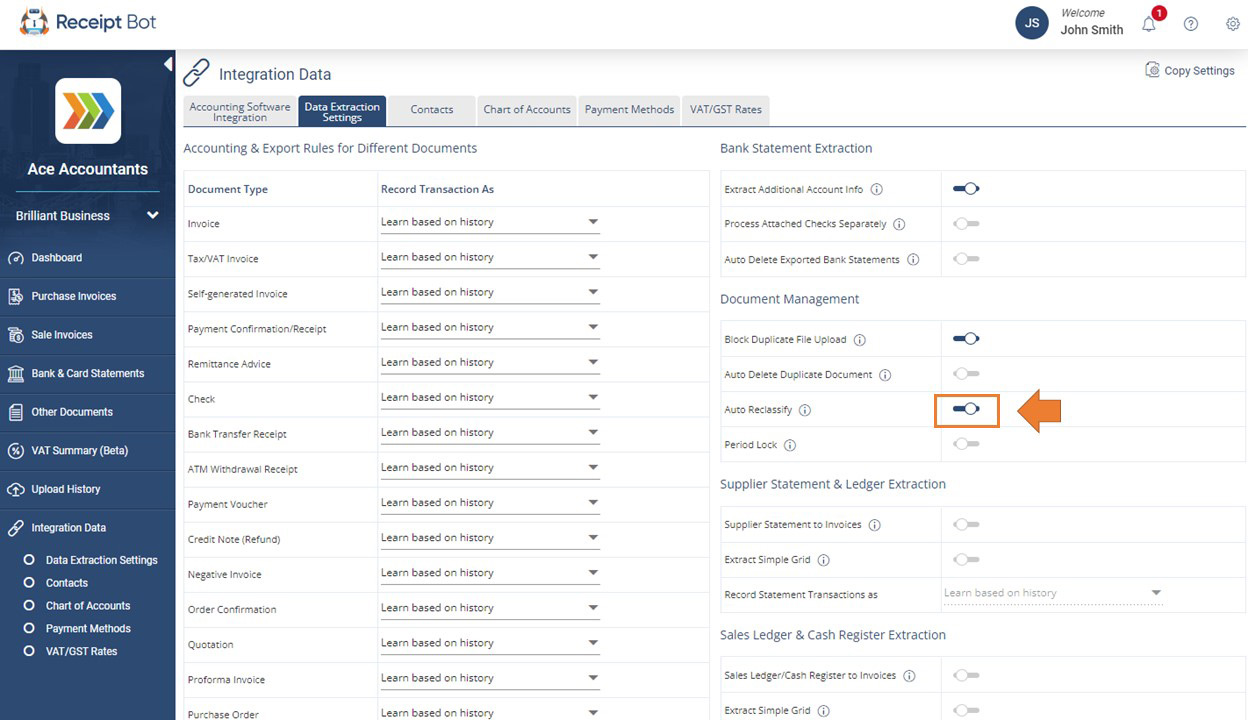
3.3. Auto reclassify
Receipt Bot’s document classification feature simplifies your workflow. When you upload a document to a module different from its identified class (purchase, sale, or statement), with the “Auto-reclassify” feature enabled, the system will reclassify the document to the correct module.
Suppose you accidentally submitted a bank statement in the Purchase Invoice module. Receipt Bot will swiftly reclassify it to the Bank Statement module, where it will undergo transaction extraction. This intelligent system ensures your documents are always in the right place for efficient processing.
This setting is enabled by default in the Receipt Bot. To turn off the auto reclassify feature, follow these steps:
Step 1 – Navigate to the “Data Extraction Settings” tab.

Step 2 – Click the “Auto Reclassify” switch to turn off the feature.
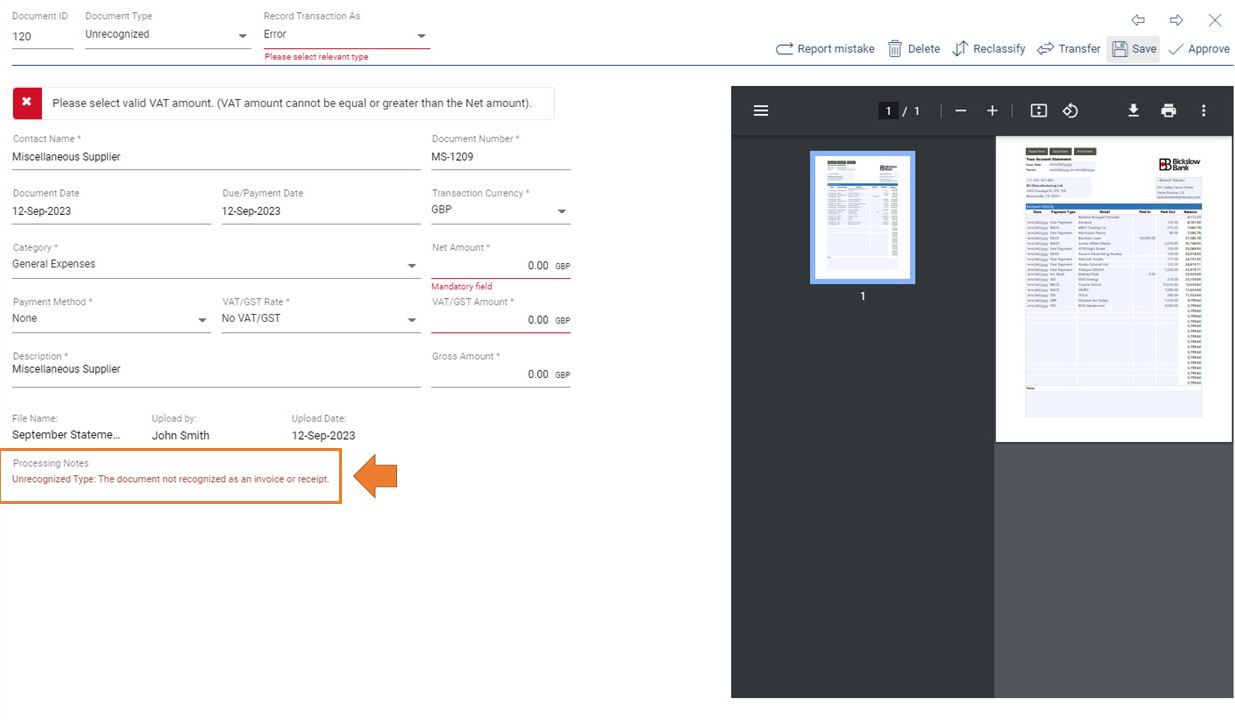
The reclassification will be turned off, and if a document is uploaded to the incorrect module, it will not be reclassified; instead, the system will flag the document with Error and add processing notes like “Unrecognized Type: The document not recognized as an invoice or receipt.”
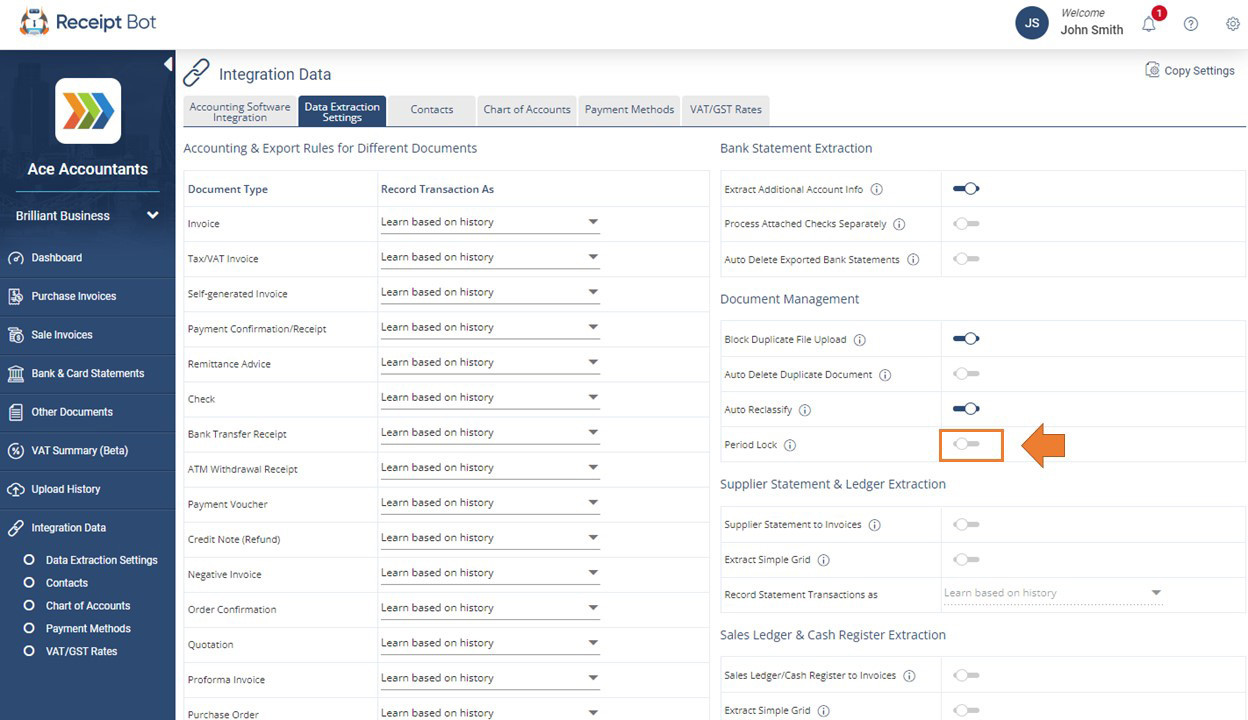
3.4. Period lock
The ‘Period Lock Date’ feature in Receipt Bot allows you to establish a specific date to secure the authenticity and consistency of your financial data. Once configured, Receipt Bot restricts any modifications to your data before the defined ‘Period Lock Date’ to ensure the reliability and accuracy of your financial information, particularly for tasks like VAT/TAX filing.
You can follow these steps to set up the period lock date:
Step 1 – Navigate to the “Data Extraction Settings” tab.

Step 2 – Click the “Period Lock” switch.
Step 3 – Enter the period lock date.
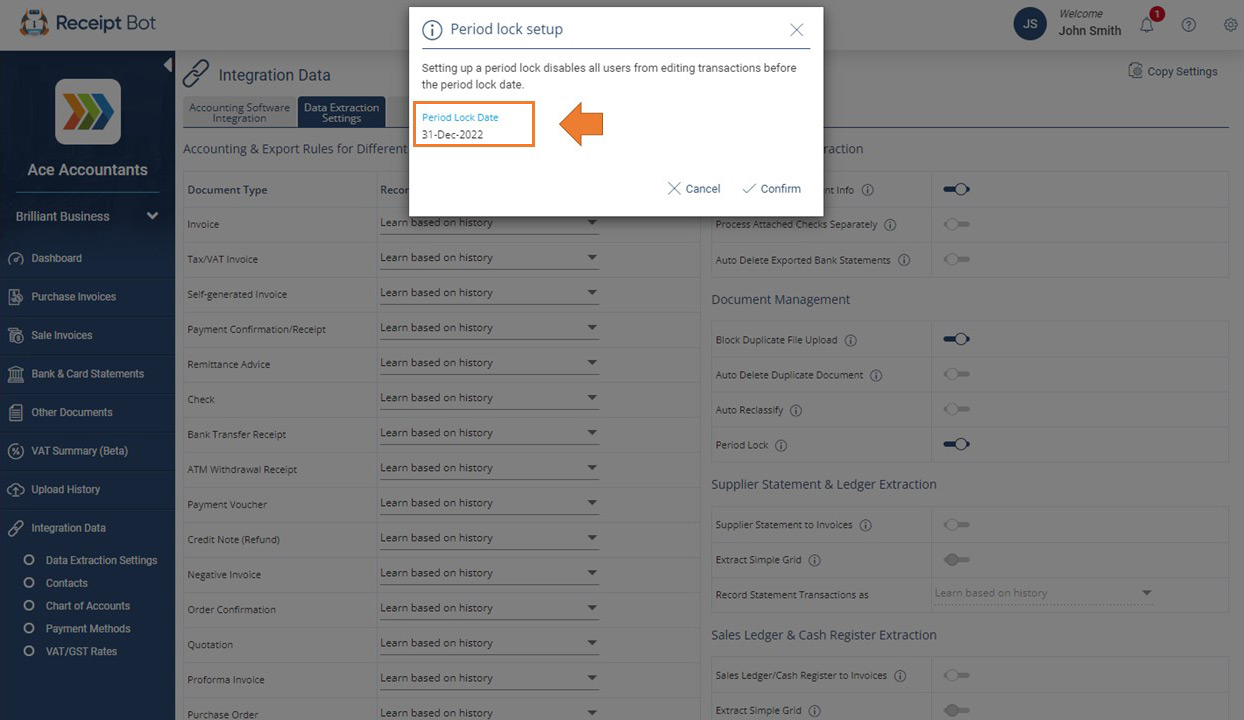
Step 4 – Click the “Confirm” button.
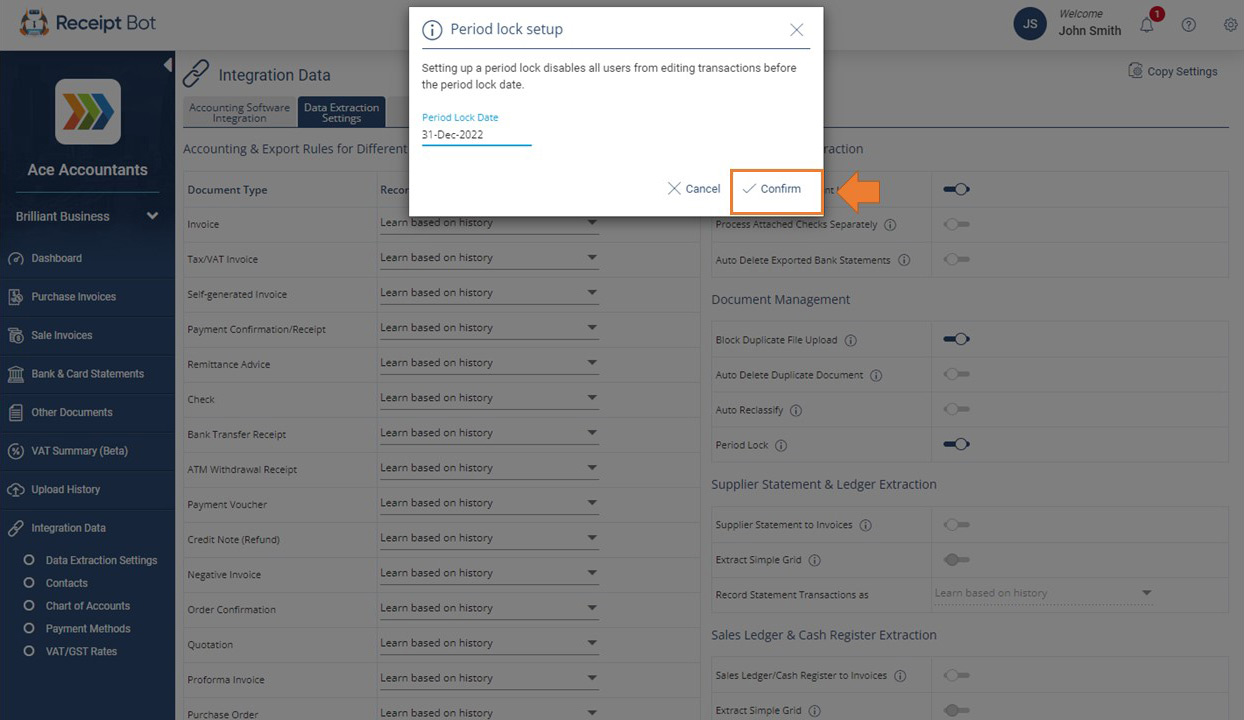
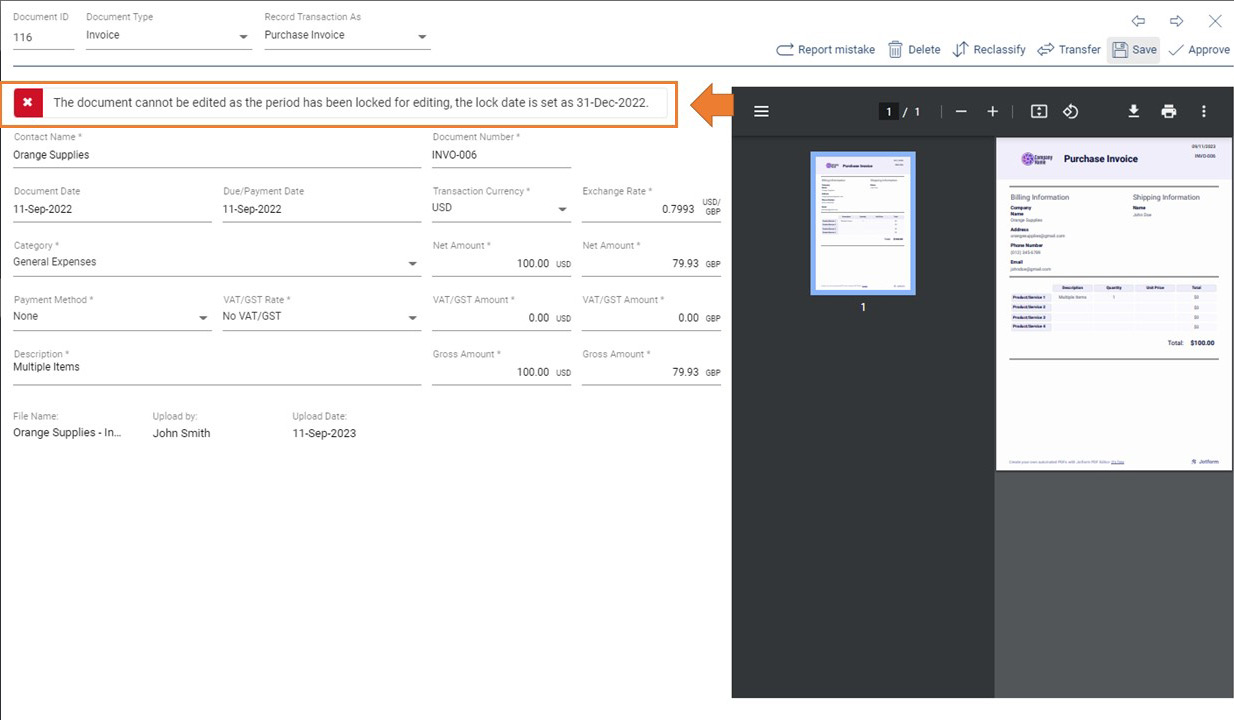
The period lock setting will be enabled. Any document whose invoice date is before the period lock can not be edited.
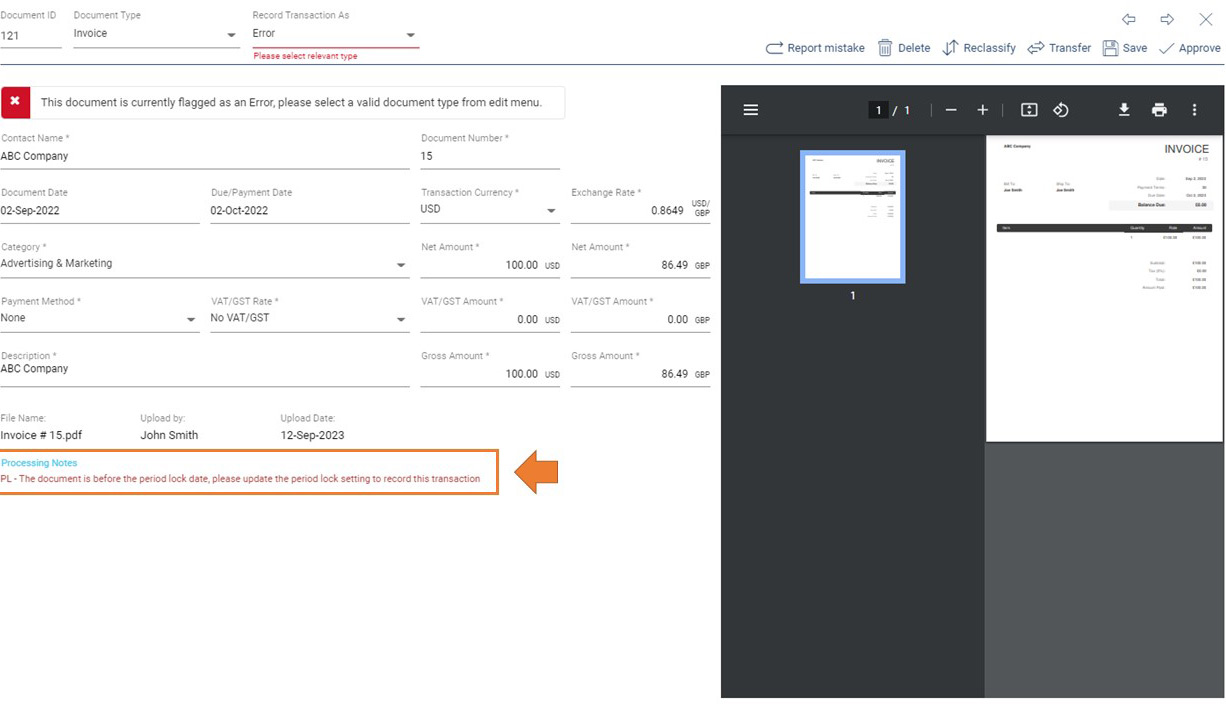
If you upload new documents with the invoice date before the period lock, they will be processed with an error flag and will not be included in reports.
Note: The period lock date in Receipt Bot differs from that in your accounting software. Setting a period lock date in your accounting software will not apply it in the Receipt Bot.
4. Supplier Statement / Sale Ledger / Cash Register Extraction
With Receipt Bot’s Supplier Statement & Ledger Extraction feature, you can create transactions from supplier statements/transaction ledgers/cash registers.
Refer to the following article to further understand the Supplier Statement and Sale Ledger extraction setting: Convert statements or ledgers to invoices.