Remove password from PDF files
Dealing with password-protected files on Receipt Bot
Receipt-Bot cannot process documents that are password protected, as the data is encrypted and cannot be accessed by the system.
Therefore, to get your password-protected documents processed by Receipt Bot, you must remove the password from the file and then upload it to Receipt Bot.
You have the following options to deal with password-protected files on Receipt Bot;
- Remove Password from PDF Using Google Chrome
- Remove Password from PDF Using Adobe Reader
- Upload Password-Protected File via Email.
Option 1 – Remove Password from PDF Using Google Chrome
Google Chrome is the easiest option for removing a password from a PDF file, as you don’t need to install any additional software.
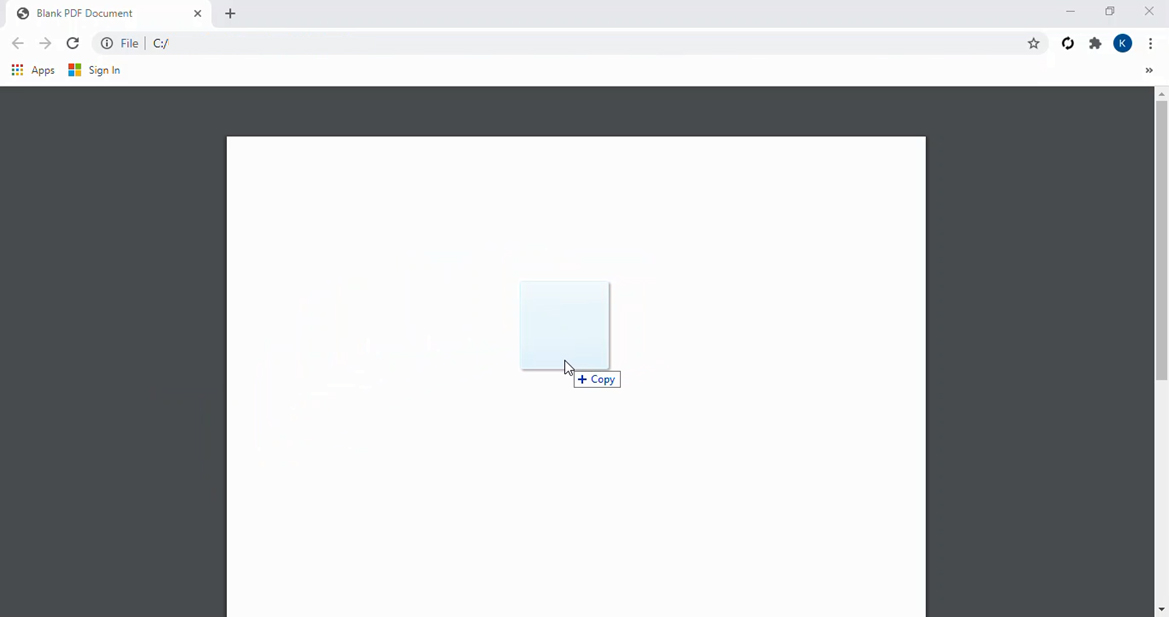
Step 1 – Firstly, drag your password-protected PDF file and drop it in the Google Chrome tab to open it. Make sure you have the latest version of Google Chrome installed.
Step 2 – Once your PDF file is open, click on the “Print” option in the top right corner to print the password-protected PDF file to PDF.

Step 3 – Now, select ‘Microsoft Print to PDF’ in the ‘Destination’ tab and Click the ‘Print’ button.

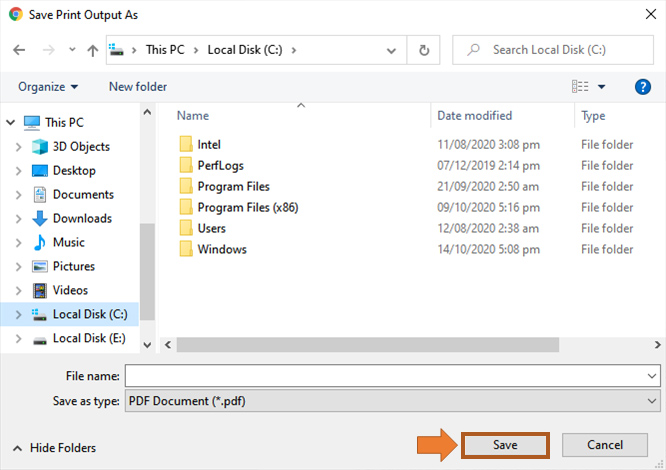
Step 4 – A pop-up will appear on your screen; select the destination where you wish to save the PDF file without password protection and click the ‘Save’ button.
Your PDF file should now be saved without any password protection, and it should now be ready to upload to the Receipt Bot app for data extraction.
Option 2 – Remove Password from PDF Using Adobe Reader
You can use ‘Adobe Acrobat Pro’ to remove the password from a protected PDF file. The following are the steps that need to be followed;
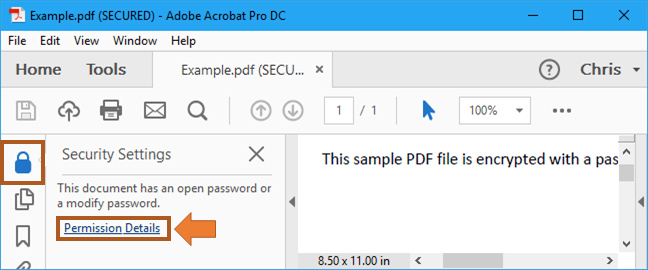
Step 1 – Open your password-protected PDF file in Adobe Acrobat Pro, click the ‘Lock icon’ in the left panel and click the ‘Permission Details’ link.
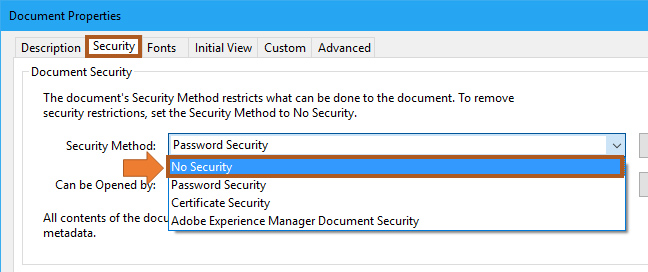
Step 2 – Go to the “Security” tab, and from the “Security Method” drop-down, select “No Security”.
Step 3 – Now save the PDF file.
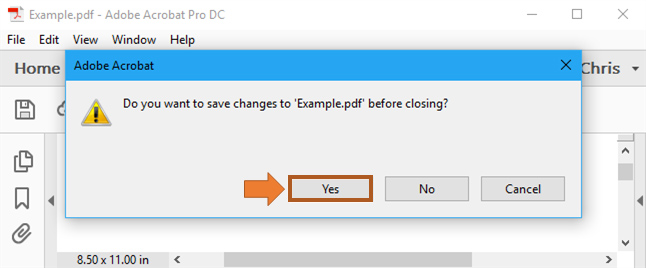
Your PDF file has now been saved without any password protection.
Option 3 – Upload Password-Protected File via Email
If, for any reason, you cannot remove the passwords from your files manually and can not follow the steps above. You can still get your documents processed by the Receipt Bot by emailing documents to the document inbox of your Receipt Bot business.
The following are the steps you need to follow to upload your document to Receipt Bot via email:
Step 1 – Log in to your Receipt Bot account.
Step 2 – Select the relevant business for which you want to upload the document.
Step 3 – Navigate to the Business Dashboard page.
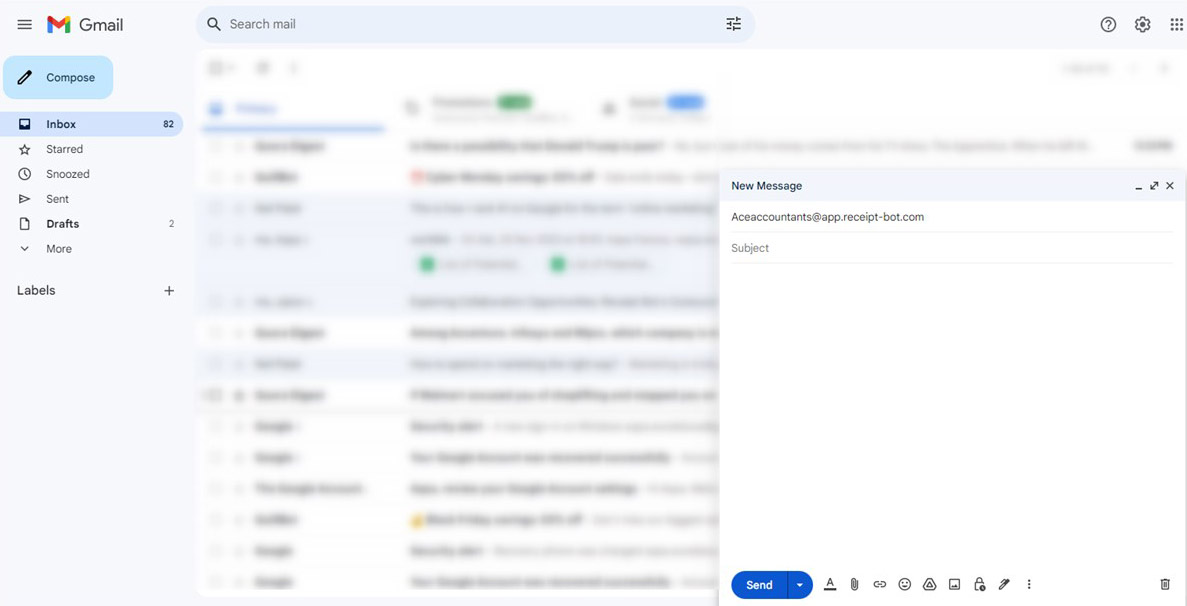
Step 4 – Copy the document inbox email from the ‘Key Bookkeeping Information’ section.
Step 5 – Email the document to the Receipt Bot’s document inbox for uploading.
Note: The purpose of this guide is to assist users who need to process password-protected documents using Receipt Bot, and in no way to guide them on accessing unauthorised PDF files.
Related Articles
Frequently Asked Questions
Q: Can Receipt Bot process password-protected documents?
A: No, Receipt Bot cannot process password-protected files due to encryption. To upload, you must remove the password using one of the provided options.
Q: What are the options to deal with password-protected files on Receipt Bot?
A: Option 1 – Remove Password from PDF Using Google Chrome
Option 2 – Remove Password from PDF Using Adobe Reader
Option 3 – Upload Password-Protected File via Email.
Q: How can I remove the password from a PDF using Google Chrome?
A: Open the file in Google Chrome, print it to PDF, and save it without a password.
Q: Can I use Adobe Reader to remove password protection from a PDF?
A: Yes, open the PDF in Adobe Acrobat Pro, adjust security settings to “No Security,” and save the file.
Q: What if I am unable to remove the password manually?
A: If unable to remove passwords manually, forward the password-protected document to Receipt Bot’s document inbox via email.
Q: How do I upload a password-protected document via email?
A: Log in to Receipt Bot, select the relevant business, copy the document inbox email from the Business Dashboard, and forward the document for uploading.thumb_upthumb_down